Getting Started with JetFuelTenders.com for Suppliers
In this section we explain the basic features of the jetfueltenders.com supplier portal.
Tenders Page
Tenders page displays any tenders acessible by the user. Click Details to enter the tender detail page.

Tenders Detail - Invitation Page
When opened for the first time the tender detail page automatically redirects to the Tender Invitation view
Suppliers are required to accept or decline their invitation before they can begin placing tender bids.
See How to Respond to a Tender Invitation for more information
The Begin Tender Submission button will appear once the tender invitation is accepted.

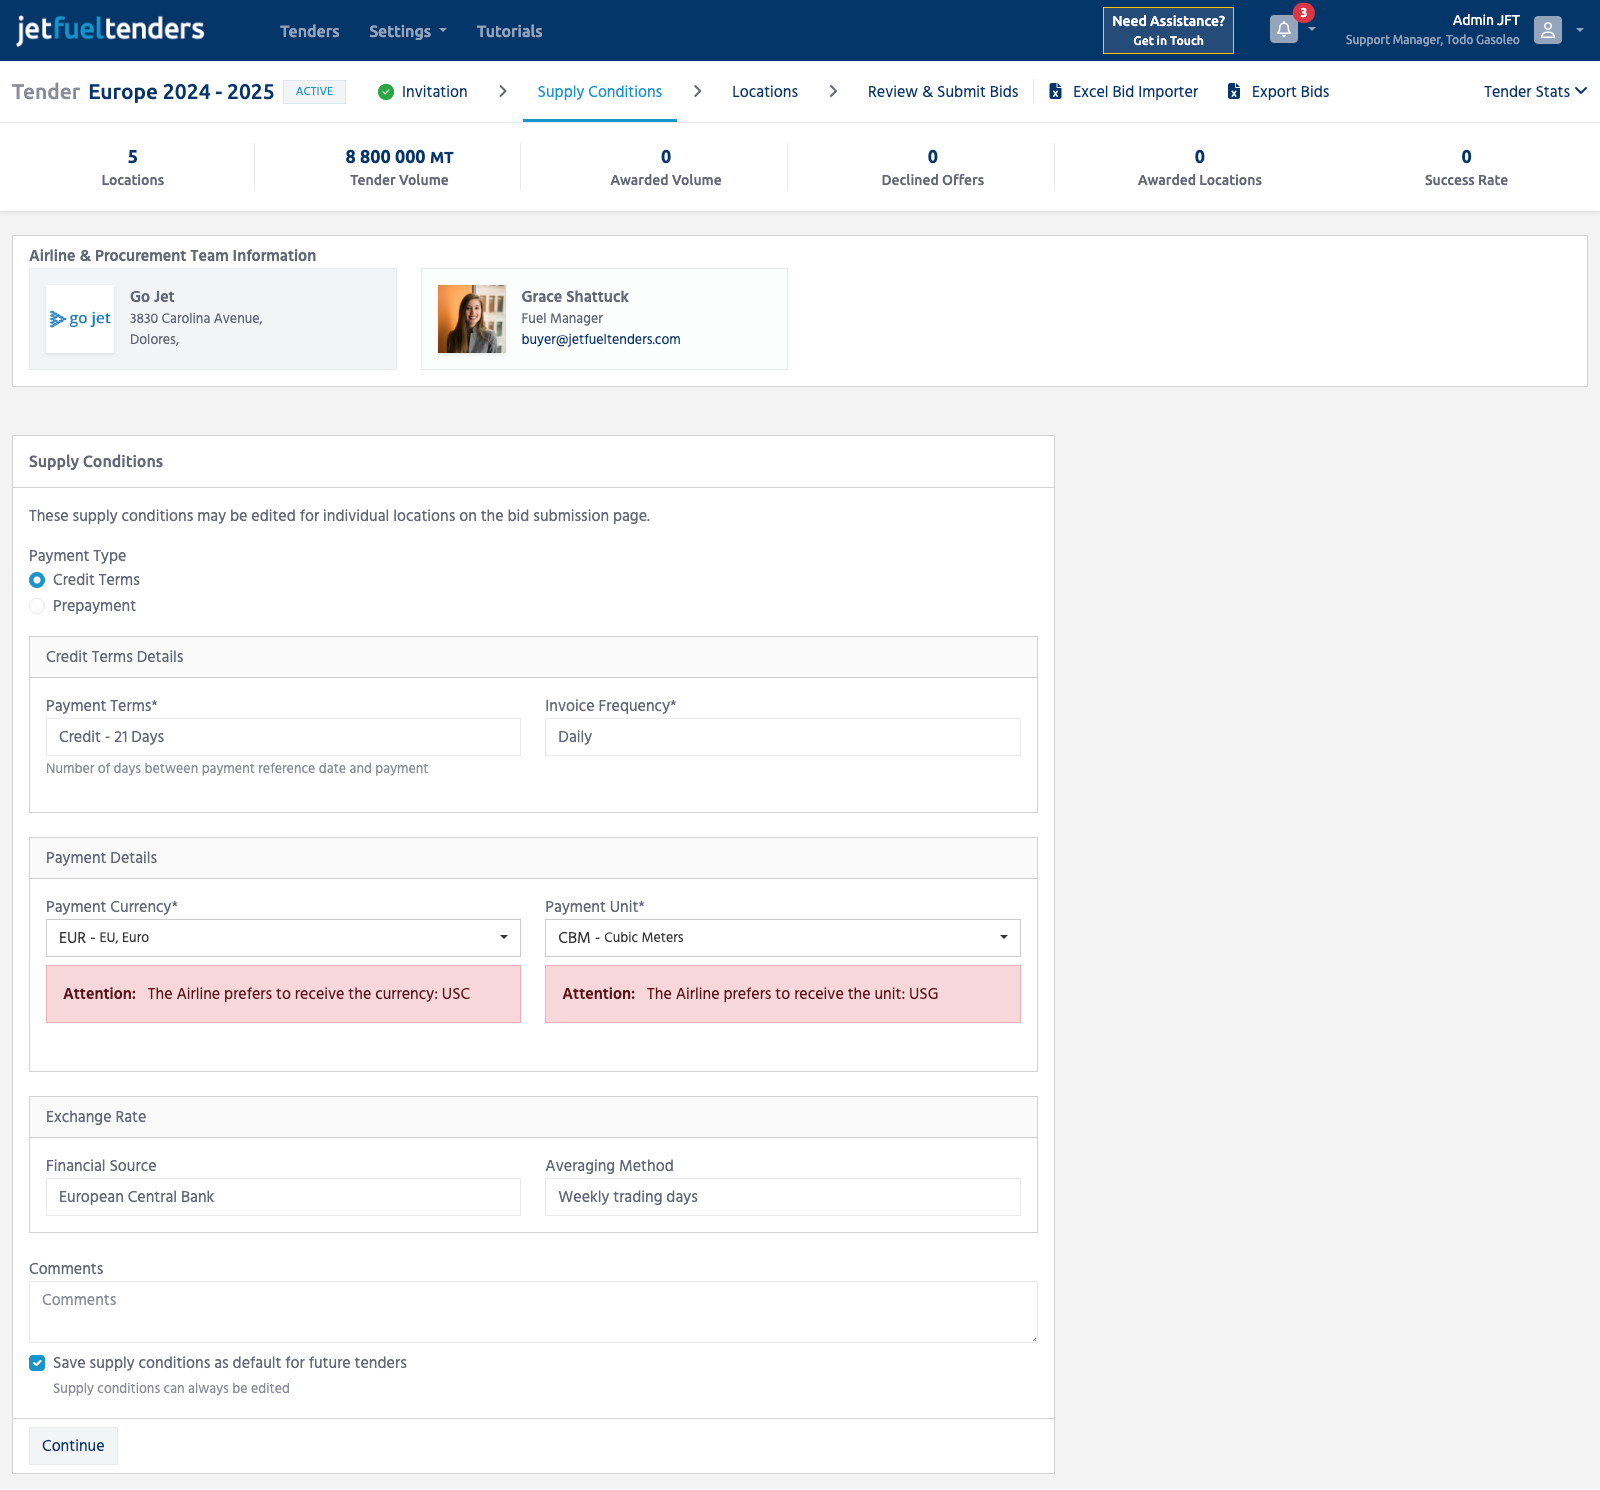
Tenders Detail - Supply Conditions Page
Suppliers can pre-define common items such as credit terms, payment details and general supply notes.
These parameters will be copied to every location and can be edited at specific locaitons if required.
Supply conditions can be saved as a template and reused in future tenders.